Feedify Documentation
- Getting Started
- Welcome
- Push Notification
- Visitor's Feedback
- Notification
- Offer Pop-Up
- Exit Offer
- Newsletter
- Miscellaneous
- Survey
- After Sale Feedback
Getting Started
Welcome
How to begin your journey with Feedify
- Select a suitable Plan
- Complete the sign-up and your Feedify account will be created, Login to that account.
After the integration is complete - You will get a dashboard like this
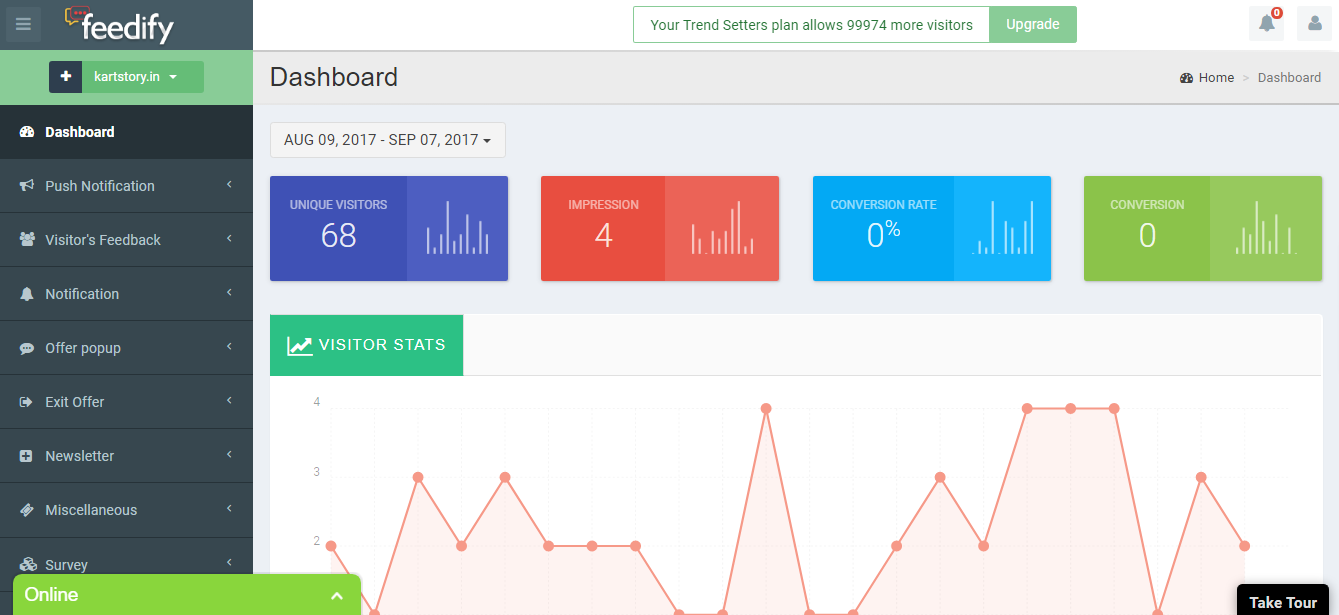
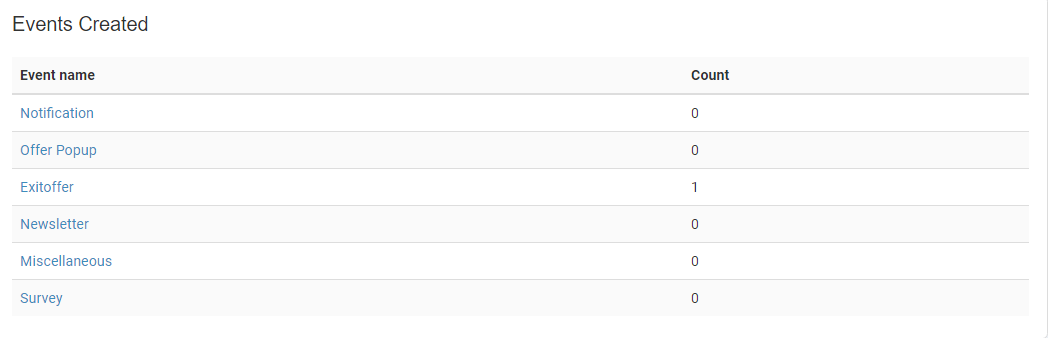
In the middle pane there is your visitor's statistics and below that is quick access to see the number of active Events on the website
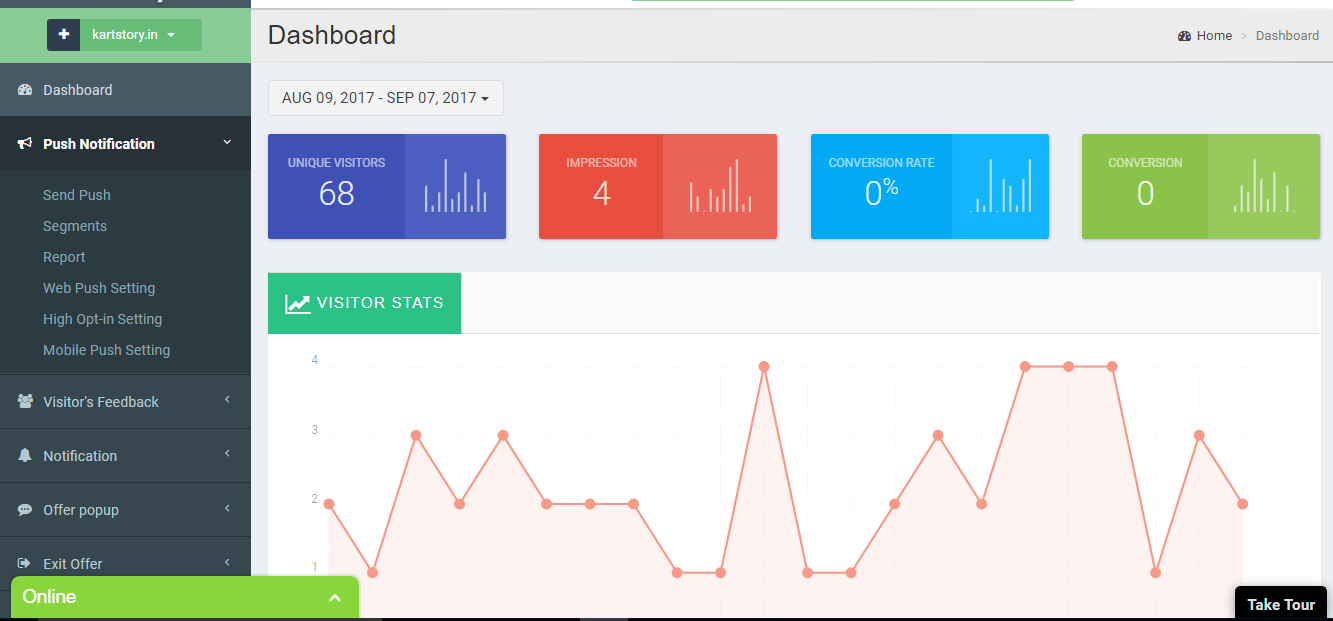
Push Notification
Under the push notification dropdown tab we have six sub entities namely
- Send Push
- Segments
- Report
- Web push Setting
- High Opt-in Settings
- Mobile Push Setting
Send push
When Someone clicks on this tab a new screen appears on the system that looks like this
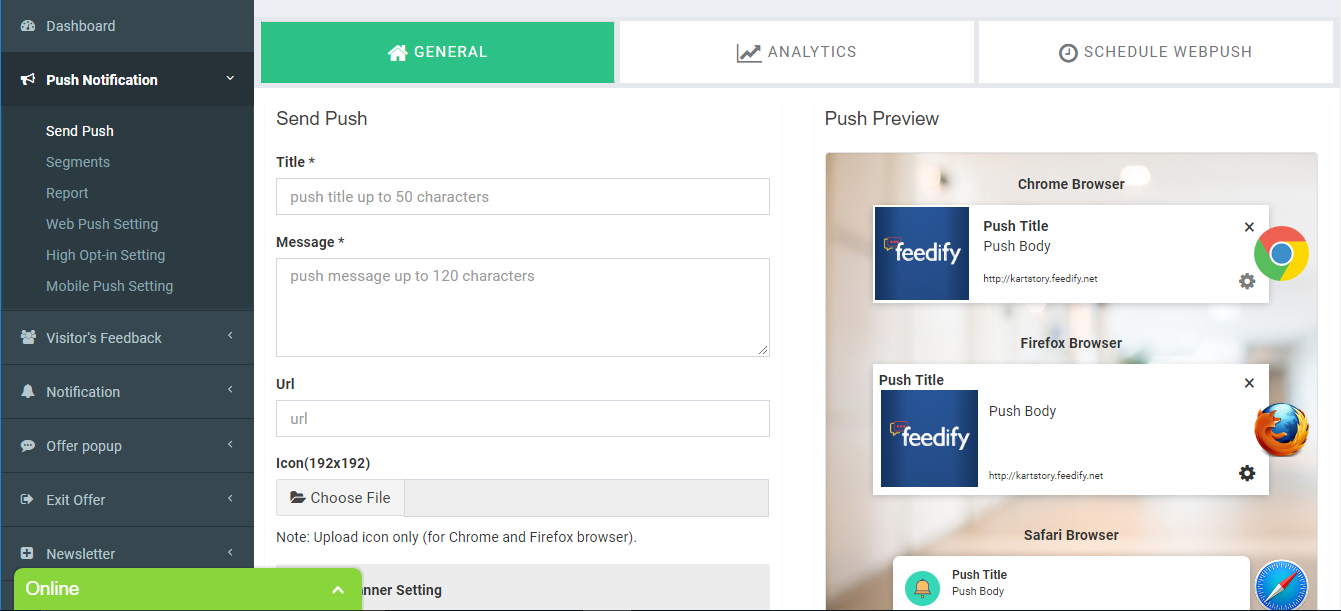
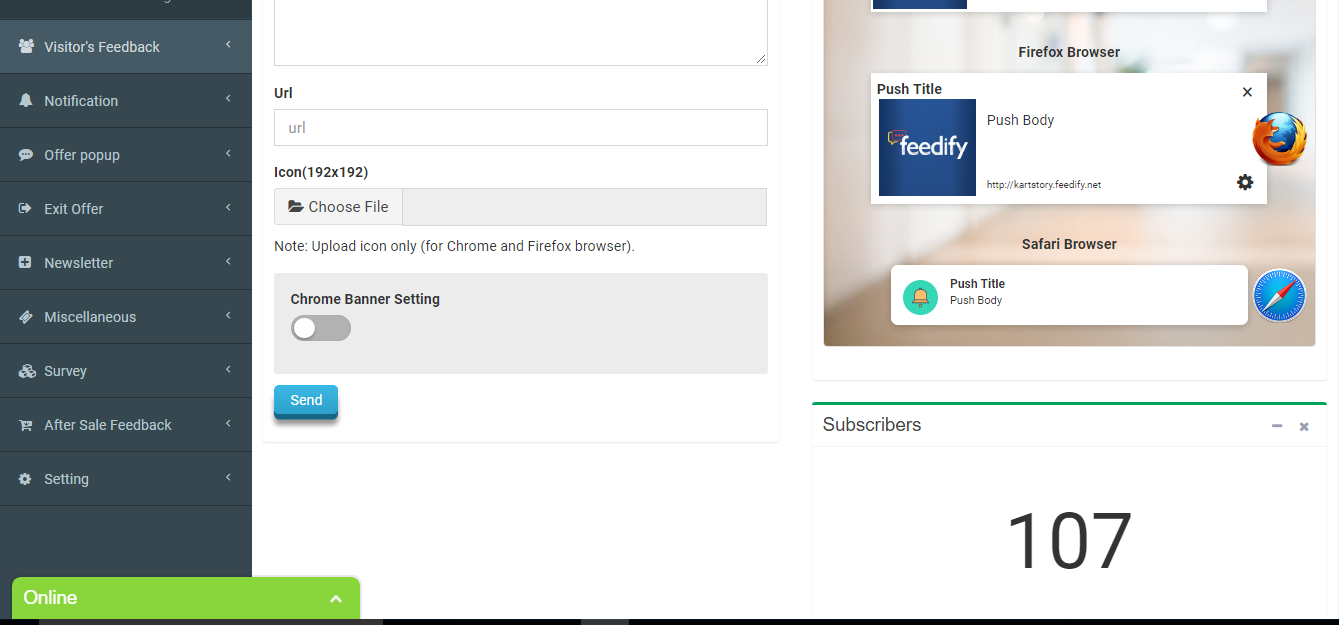
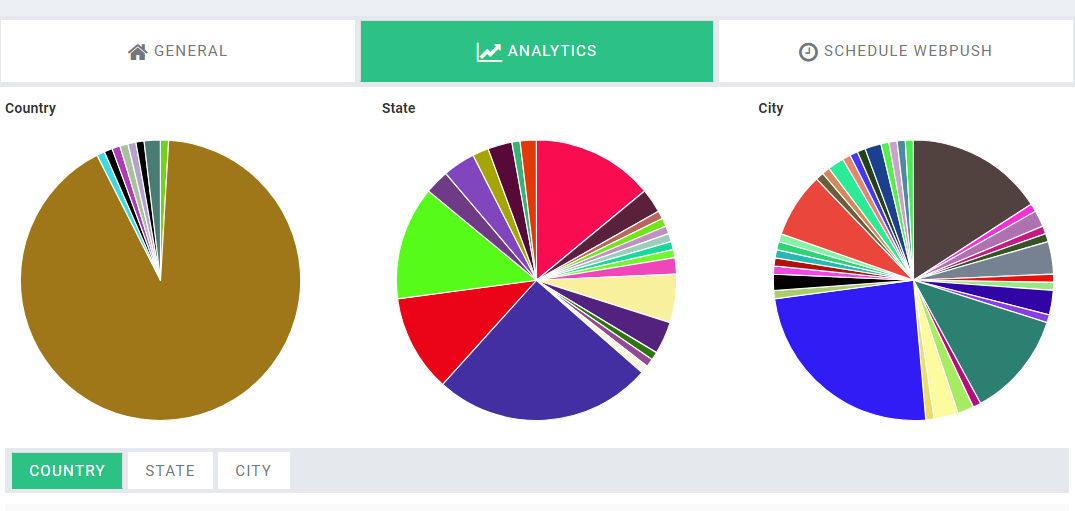
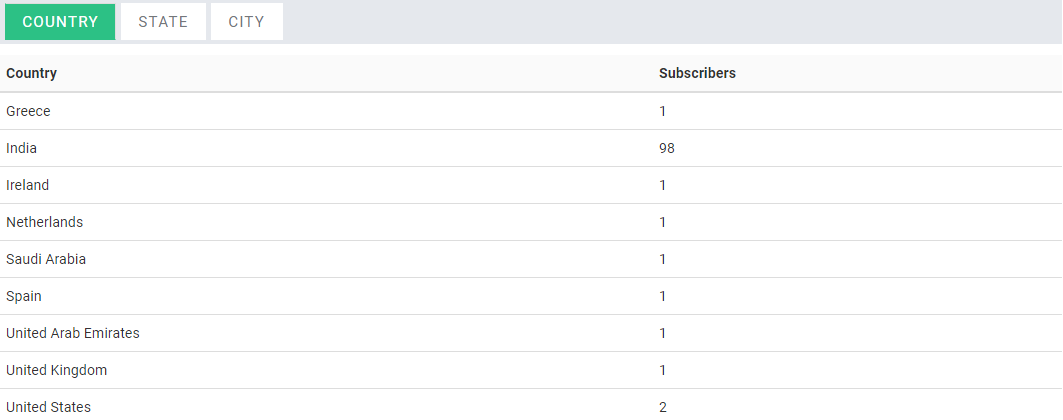
At the top there are again three tabs that reads general, analytics and schedule web push. when one scrolls down, one can see the number of subscribers of the website for push notification service. This window is the default window or screen that open up under the general tab. Under the analytics tab one can see the geolocation of the subscribers.
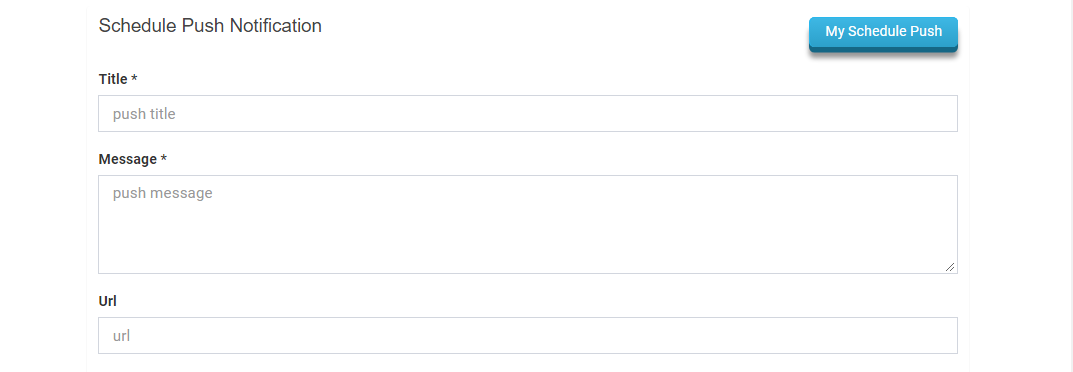
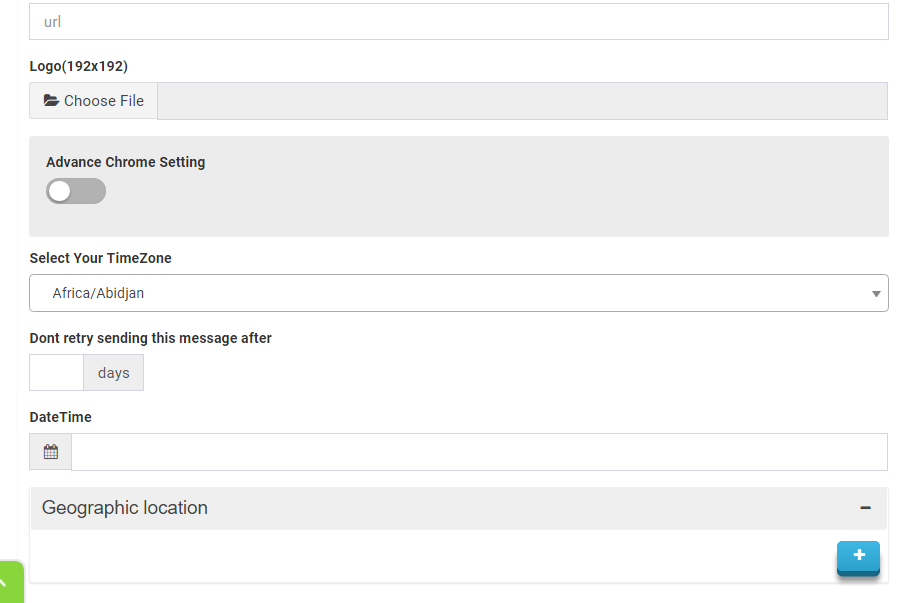
In the Schedule web push - One can schedule a push notification based on the date, time and geolocation to their subscribers
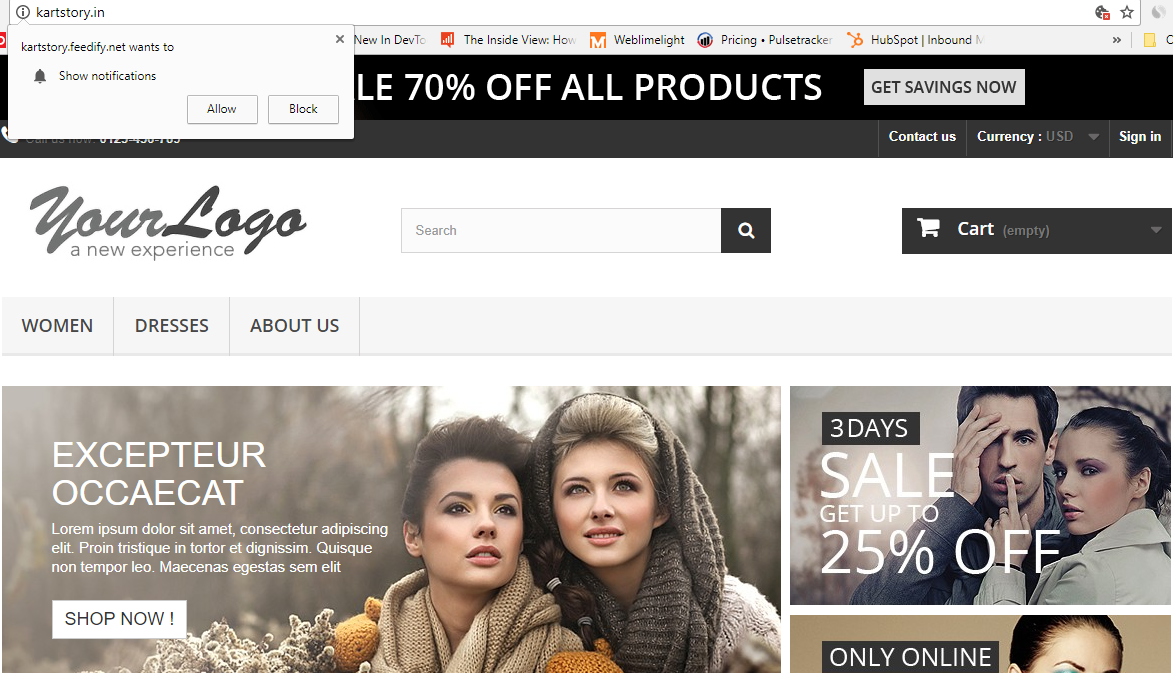
Becoming a subscriber for receiving notifications from the website. Lets say a visitor is browsing through the content on the website gets a pop-up.
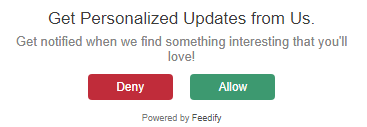
The user clicked on Allow button.
and received a thank you message of subscription.
Crafting a push notification
- Title - Give a short and catchy heading
- Message - A message to grab the interest of the subscriber
- Link - Add a link of the landing page where the subscriber should land after clicking
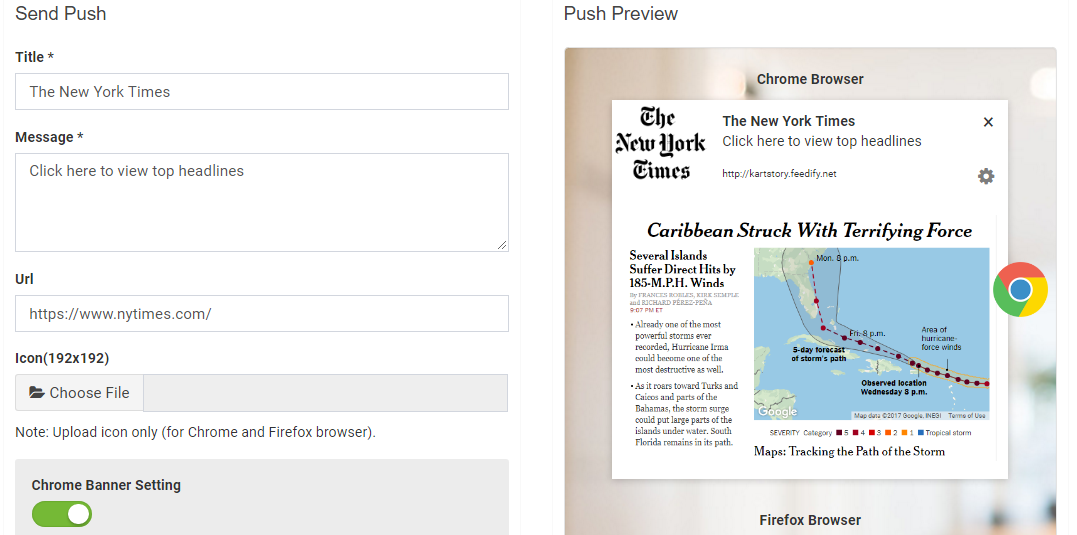
Chrome specific setting
- Banner and CTA Buttons - Add upto two buttons and a banner image - Give landing page links for each button.
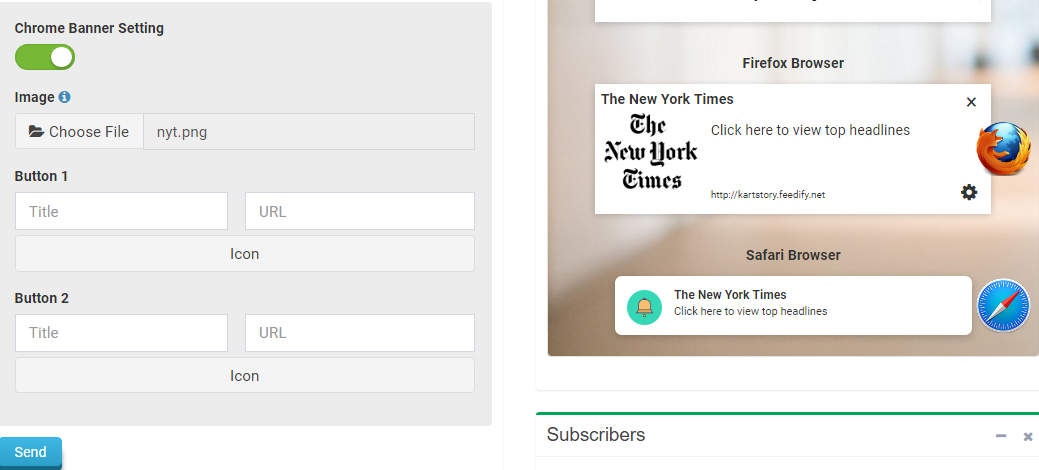
Click on Send button and it will be sent to all the subscribers, if one wants to send a particular notification to people of only one particular region and use their local languages to craft a notification that facility is available in the schedule push tab.
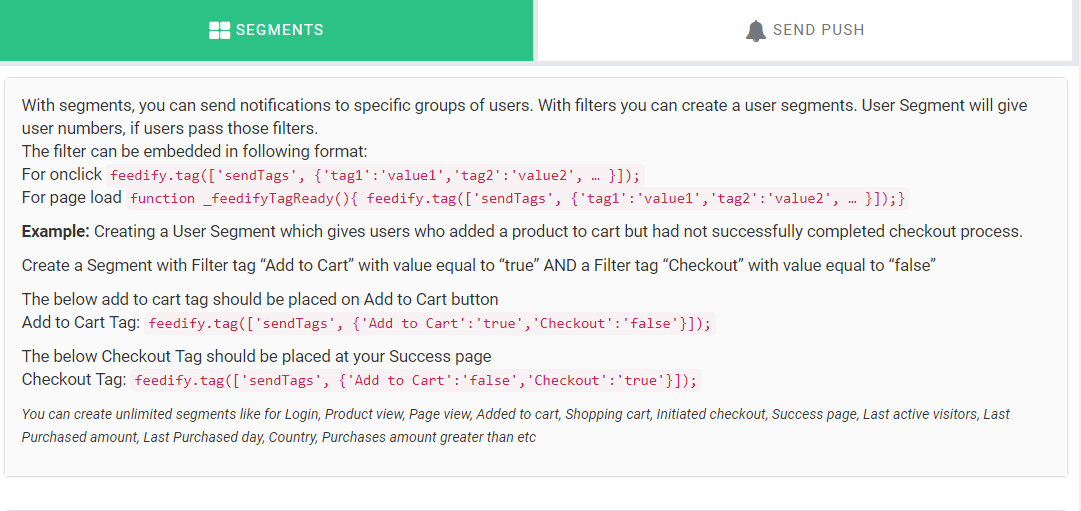
Segments
The second and the most important one for targeting the subscriber is creating segments of the website on events like clickable features, on load, add to kart etc to track the subscribers interest as well as add various rules and schedule relevant content to them. If a subscriber click on the created segment She/he gets registered under that segment so that a precise targeting can be done .This can be easily done from the Feedify dashboard.
Creating Segment using Tags filter
User Tags can be used to target specific clicks or customers
- Create a Segment.
- Select User Tag , input tag
keyyou wish to match - Select operator from
greater than,less than,equal to - Input tag
valueyou wish to match with tag key
Use numeric values for operator greater than and less than only
Why to create tags for Segmentation?
- Improved Targeting
- Personalization and content accuracy
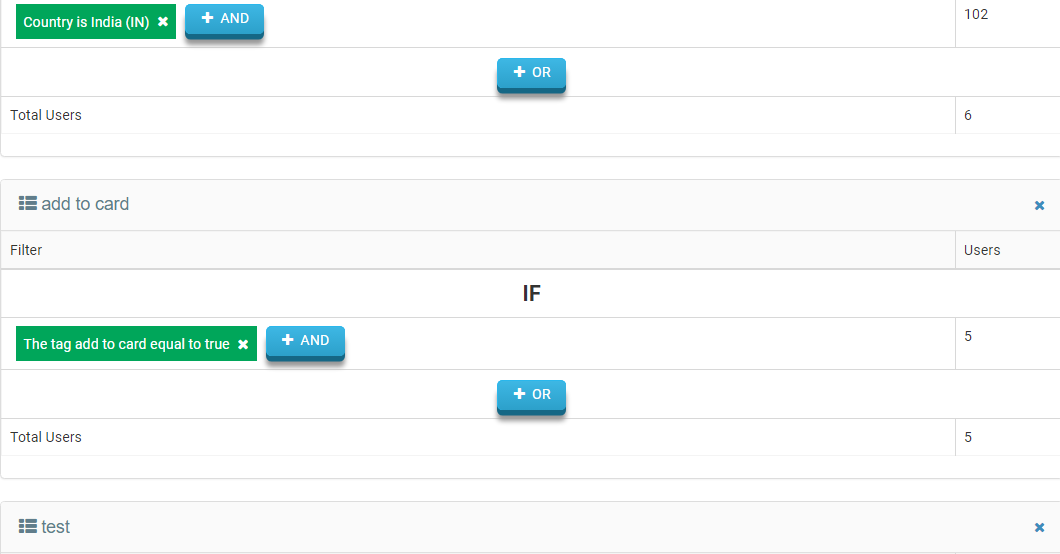
The most frequent use of tags by customers is filtering users by certain attributes like geo-location, Checkout or adding any combination of rule. For instance, customers often check whether users have completed the purchase or not, which allows them to send targeted messages to users to make an offer or to give a reminder for completing the checkout that was pending. A website can also improve their targeting by creating tags for their subscribers based on the privileges like VIP, Premium User, normal customer by adding rules.
One can send personalized messages in the any language by selecting a segment from a particular geo-location with relevant content.
How to create tags?
Under Push Notification>> we have Segments>>
Scroll down to the bottom there is an option of New Segment>>
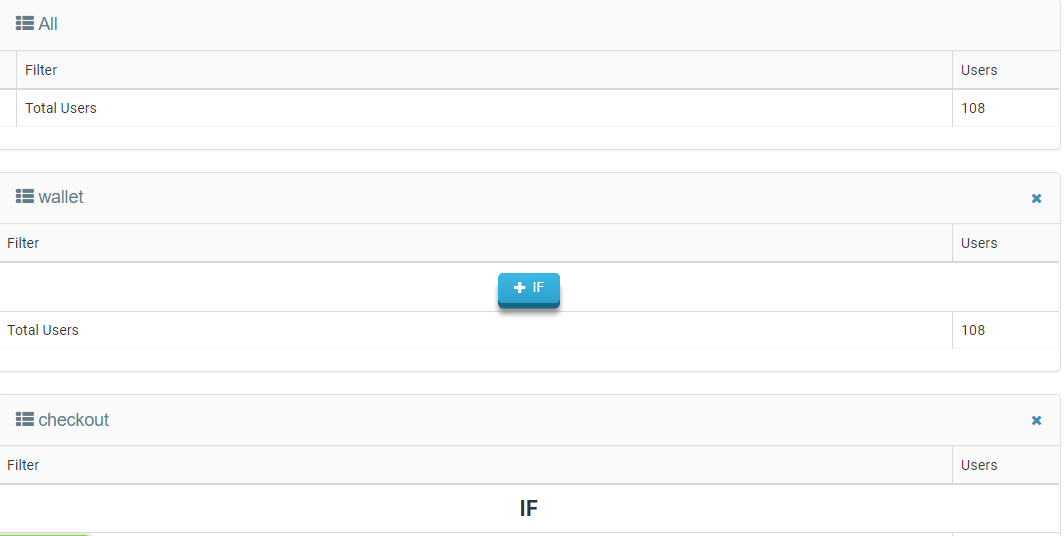
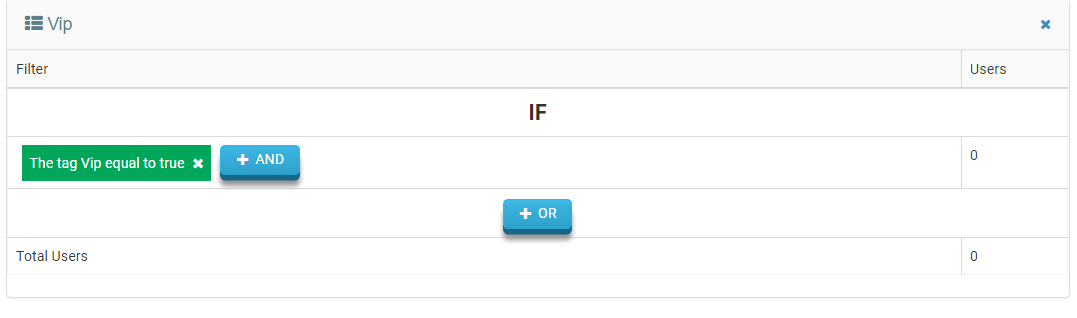
Click on New Segment give it a name Lets Say Vip now a segment is created by the name Vip as shown in the image
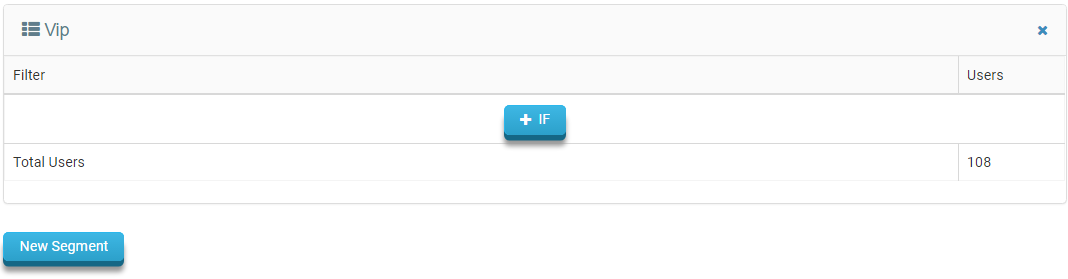
Click on the IF button a new window will pop up

Under the Filter option Select >> the >> User Tag option As soon as the selection is made the window changes with an empty >> Key(Tag) and Value
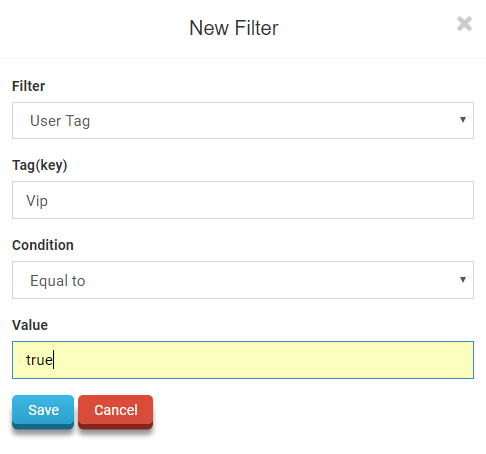
fill in the details and a tag with that key value is created.
Similarly one can add more tags by clicking on the AND conditional button or using an OR button
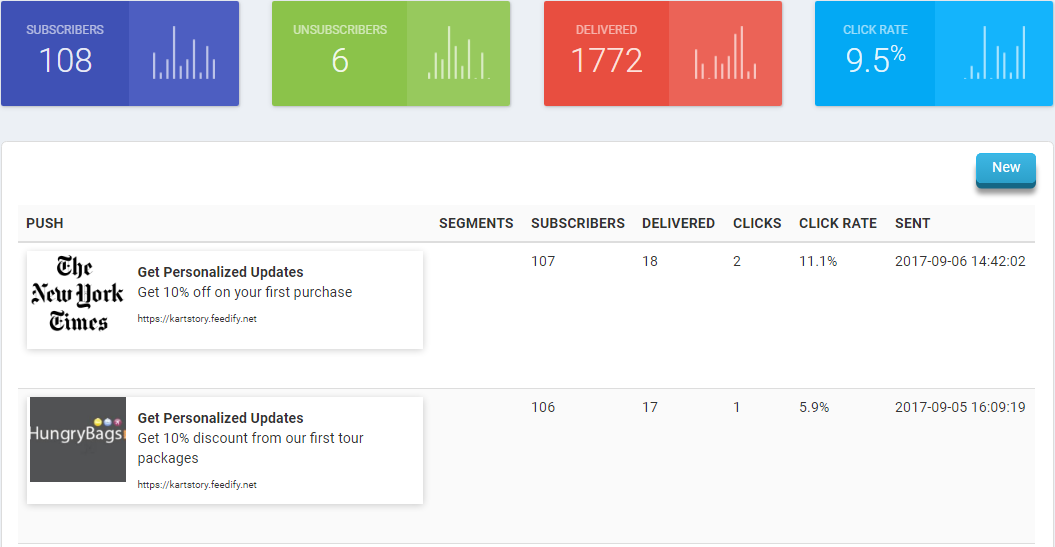
Report
One can get the report pertaining to all push notifications under the report tab . A push send by the website stays alive up to 28 days. So even if the subscriber opens the browser after 2 days or 10 days it will be delivered to them. One can get these reports under the report tab.
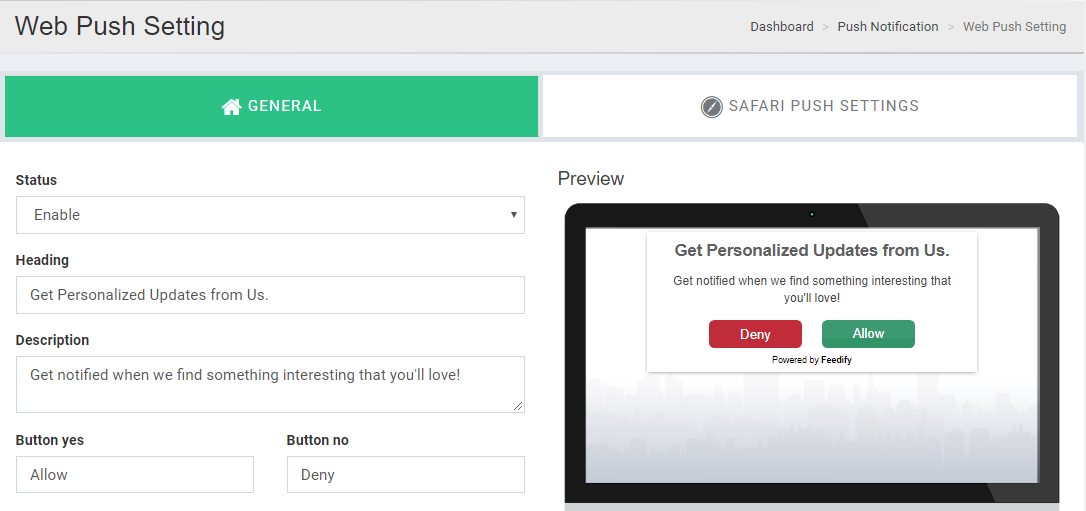
Web Push Settings
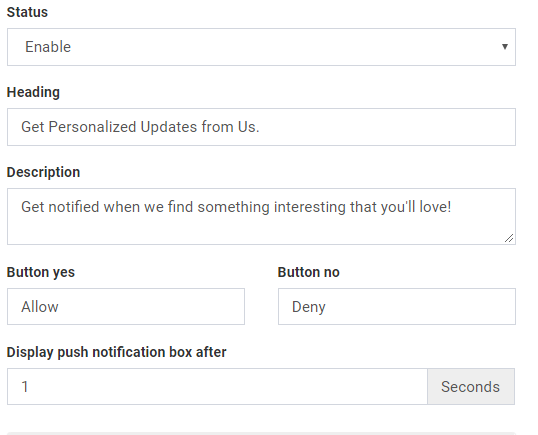
Under this tab there are two buttons at the top, the default screen that's selected under the General tab and Safari Push Settings where one can select a logo or an image to be displayed for notification in Safari Under the general settings one can customize the subscription template.
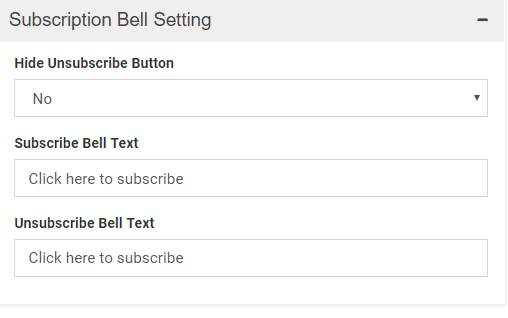
Change the Bell settings that is if someone clicks on the Deny button they will they will not get a subscription pop-up again but will have an option to click on the bell that reads click here to subscribe.

In the bell settings one can change the status of the bell and also type in a text message that will be displayed on hover.
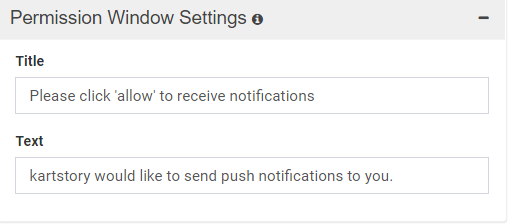
There is a permission window setting its for the second window when someone clicks on the Allow button, they are redirected to a second window that asks them to allow notification again. One can even customize a message there.
The subscription pop-up message for asking the user's to subscribe comes in two different desgin to play around.
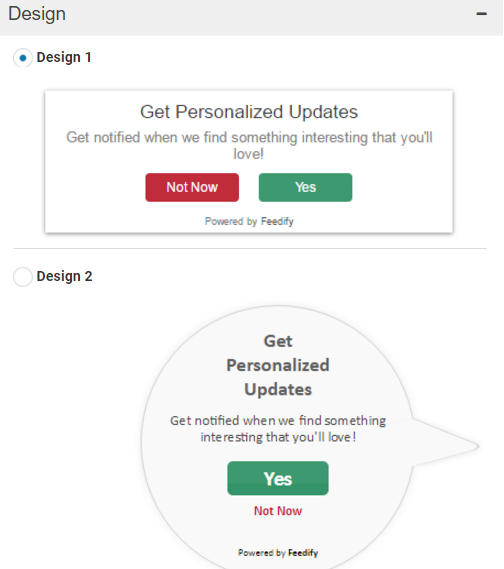
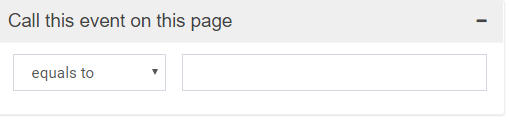
And one can call this event on any particular page, Just have to place a URL in front of equal to option. One can check this in the image
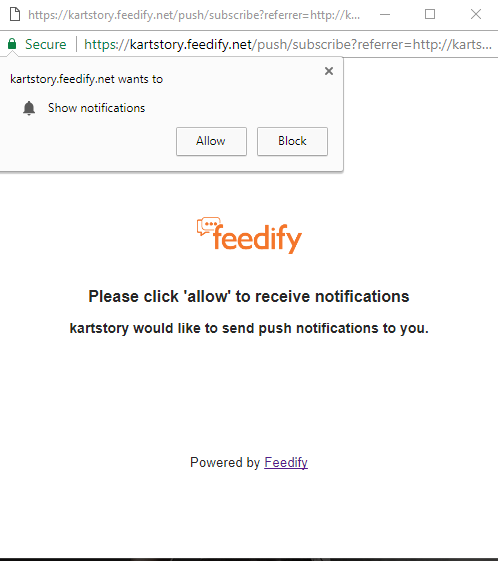
Native browser option for high Opt-in. It is a one step process where in a user would get a subscription message of this kind
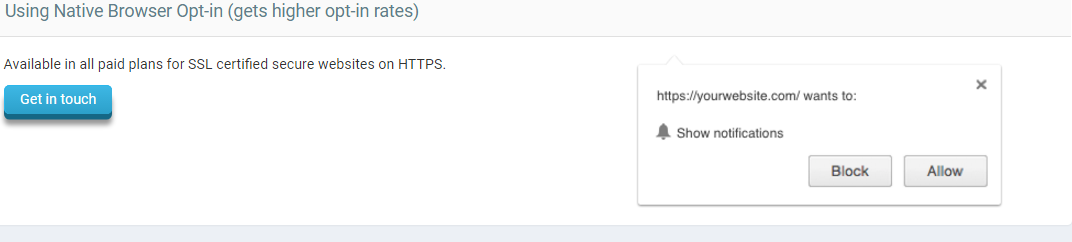
and on a single click one on Allow button one can get subscribed. Downside of this feature is that it is applicable for SSL websites only and customization of the template is not possible with this option. For the NON- SSL websites there is yet another option similar to Native browser for SSL its High Opt-in for NON-SSL which will be described in below
High Opt in setting
Under the high opt in setting one can set up a message similar to native browser push under the sub-domain of the service provider
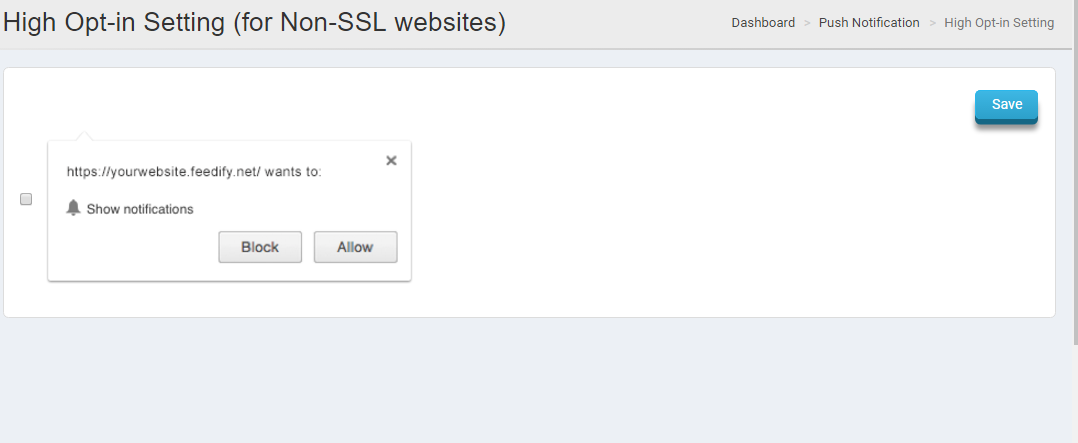
and on clicking allow will get a thank you message. that completes the subscription process. It has the same downside no customization.
Mobile Push Settings
Under the mobile push settings we have similar options to customize the template as were there in the web push settings.
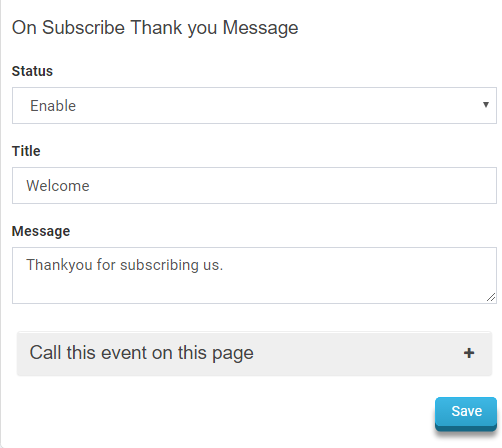
One can call subscription message on any particular page and give a customized thank you message or acknowledgement for receiving notifications.
Visitor's Feedback
Settings
In order to collect feedback, queries and suggestion from the visitors Feedify has created a very interactive and responsive button called the "Feedback Button"
A website can customize this button and set upto 3 forms which can be configured with three different e-mail addresses of different departments.
If a query is received at the support department the reply would be sent via the configured mail of the support department.
One can change the color or the front end of the button to match the interface of the website. As well as set the number of fields and categories of that department.
List
There is a list tab under the Feedify dashboard in the visitor Feedback dropdown from where all the mails received can be viewed and replied.
Notification
One can create a notification by choosing or selecting from a variety of templates that are responsive for all devices and simultaneously one can give
it an animation effect as well. Targeting is the next step where one can accurately time and target the notification to the right user at the right moment from choosing
any combination of filters that Feedify offers. The final step of setting the notification in action is setting a start and an end date of the notification event.
From the list of notifications one can at anytime discontinue or delete any event. Coupon codes, discounts offer and sale are some of the themes on which notifications are set in action to grab visitor's attention. With Feedify one can be as creative as possible.
Offer Pop-ups
The basic difference between a notification and offer pop-up is the placement, notifications are usually placed in strips and around the corners whereas Offer pop-ups are central notification, offering something big. A punch line with a coupon code or an offer with more discount is very effective in getting good sales.
With Feedify Offers one can be very precise in targeting Offer pop-ups and getting good conversions and click rates.
Exit Intent
With Feedify Exit intent technology one can request their visitor or take them to sections that are running high discounts, when the visitor tries to leave the website.
As soon as someone tries to leave the website immediately a pop-up would appear on the screen that a website intent to show. More this exit technology can be very precisely targeted to specific users based on geolocation, Time delay, display frequencies and many more options to choose from.
Newsletters
Feedify offers responsive newsletters to allow visitors to submit their e-mails to the website to receive newsletters on their e-mail.
One can select an attractive template and catch the attention of the visitor by timing the Newsletter event which can be easily done via plethora of targeting options that are there in Feedify.
Miscellaneous
Most of the people today spend a lot of time on social media and here is a good chance to attract them as well as ask them to like the website’s page on facebook. Sighting this trend and the impact a social media campaign can have on driving the traffic towards the website Feedify has created an optimally timed social widget, wherein one just have to give the url of their facebook page and if the user is logged in one can directly like the page on the widget itself. If the user is not logged in it will open a new window for them to login and take them to the Facebook page where one can view the content and and like the page.
Survey
Surveys are very important to collect behavioral data for the websites that give deep insights into the business. The surveys can be based upon the customer experience or can be random for anonymous visitors. With Feedify one can do more with surveys in less steps. Create a set of question by adding steps and choosing options.
Target the survey with accuracy and get valuable data. Creating survey is a tedious and time consuming task but Feedify has reduced its complexity to a great deal.
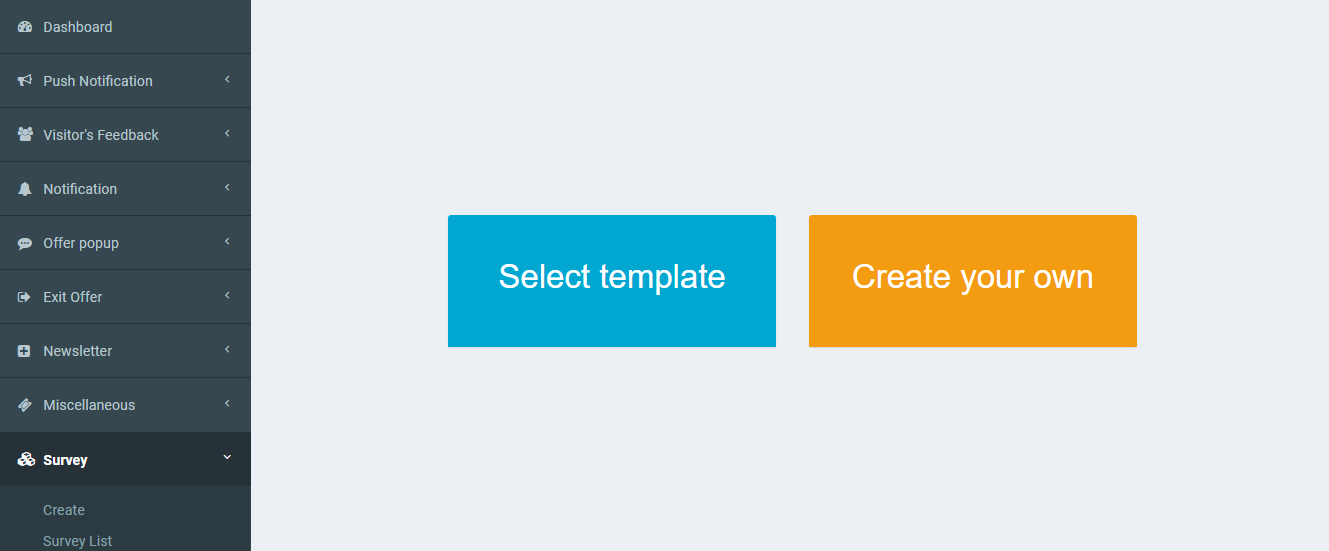
Under the Survey dropdown tab there are two options create and survey list. On Selecting the create option a screen appears that gives its user two options to select a template or create your own.
The next step after the selection is done is to ask a visitor a set of questions which can be done in very easy steps with the help of Feedify survey creator. Feedify Survey creator is shown in the image below
Step 1 which is auto generated consist of a survey Title, Question, Field Type - (Text, dropdown, radio, checkbox) Labels (Text field) which is given as an options to the survey taker. A conditional filed of Required to assign the priority and a Goto option to direct the visitor to go the next step to answer the next question. Lets say on selecting first go to Step 3 , Step 2 or Goto Thank You. In the thank you step one could give an acknowledgement or a thank you message to the participants of the survey. Steps can be easily created by clicking on the add new steps button. And Fields can be easily created by clicking on the add field button.
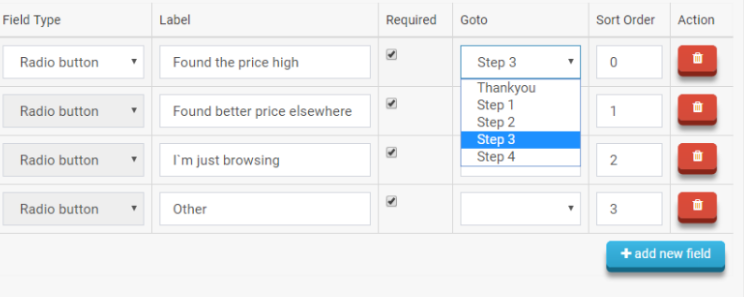
Sort order is the order in which the options or the fields would appear in the front end. Create interesting surveys within five minutes thereby saving the time of your participants as well as yours.
Targeting the Survey, when the set of questions are complete click on the save and continue button , the next step for the website or the survey creator is to target the survey, under targeting there are various options and they are as follows - Only the selected items under the targeting will get an option to participate in the survey and the rest would be neglected.
Based on devices
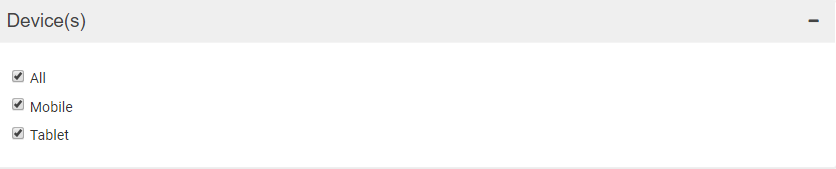
Suppose this event is conducted for only mobile and table users so instead of selecting all, deselect all and keep the mobile and tablet option selected.
Based on operating systems
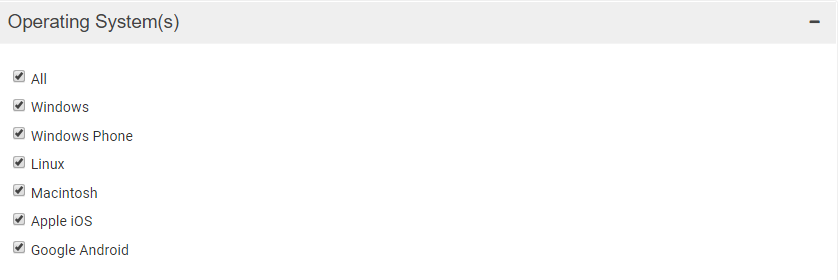
The same procedure applies here as well deselect any target to not show the option of participating in this event.
Based on browsers
Choose the browser to display this event to anyone coming particular browser.
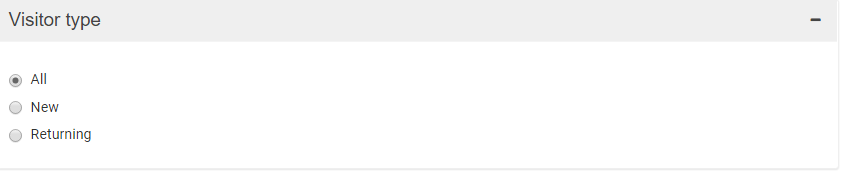
Based on visitor type

Here there are three options and they are - show to all visitors, new or returning.
Display frequency

The amount of time in minutes after which the event should repeat itself is the display frequency.
Based on Geography
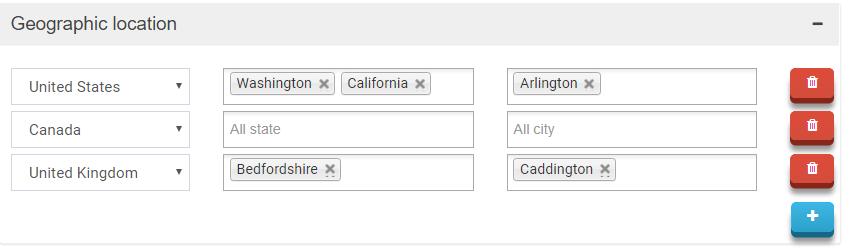
One can target this event to multiple country state and city. For a personalization of this event, the survey can be created in the local language and targeted to a specific geography which would result in more number of participants and better engagement. The geo targeting up to a level of the city and simultaneously addition of more relevant location is a very precise geo targeting that you get at Feedify.
Traffic source
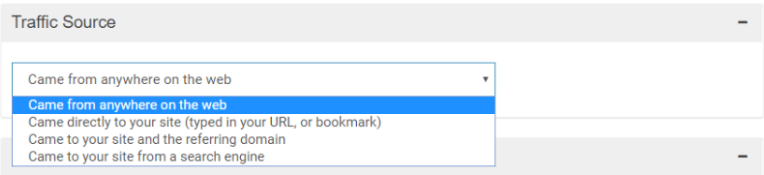
Based on the traffic source
- Came from anywhere on the web -
Allows the option to take survey to anyone coming from the internet
- Came directly by typing url or bookmark -
Allows the option of taking survey only to the visitor who is directly typing the link or has bookmarked the page and coming from the bookmark.
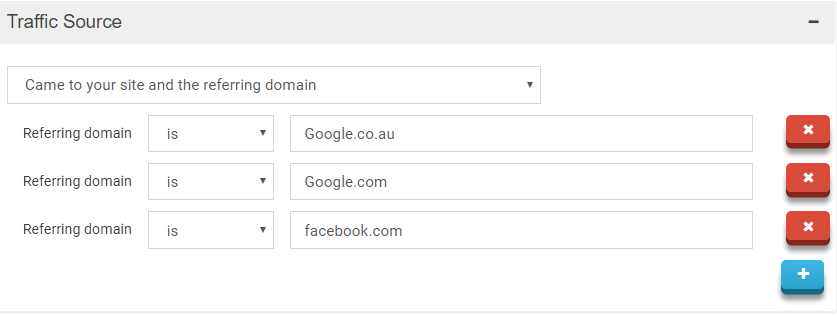
- Came to your site and the referring domain -
If a traffic is coming from some referring domain or affiliate program this event would appear only to those visitors.
Came to the website from the top 10 search engines.This event would appear to them
Call this event on this page - There are many options to call this event on any particular page. Equals to - refers to the URL and only on that particular page the event would be called below it there is an add button which allows us to add multiple links.Starts with - If the category or any page starts or any url starts with the word mentioned in front this selected dropdown the event would only appear in reference to that word on that particular category or link.Suppose if the text field in front of this dropdown contains the word Iphone so this event would only be called on all the pages or categories that starts with the word Iphone.Similarly we have Ends with, contains, matches Regex and their not counter parts.
- Time Delay -
It is the amount of time after which a particular event should appear on the screen. The ideal time delay is between 15 and 30 seconds in most cases and its totally upto the developer to set this thing based upon the behavior of the customer or the site visitor on the website.

Its the number in percentage of the scroll of the website's page.

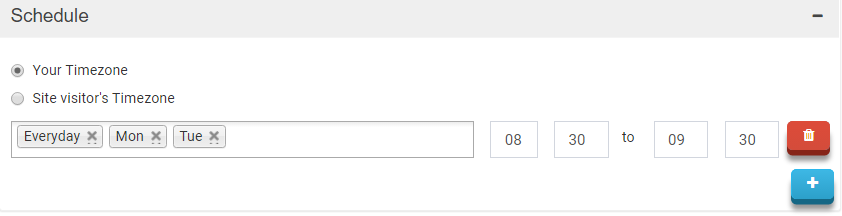
The event can be scheduled based upon the website's time zone or the site visitors time zone and can further be broken to any particular time interval on everyday or on the selected day.
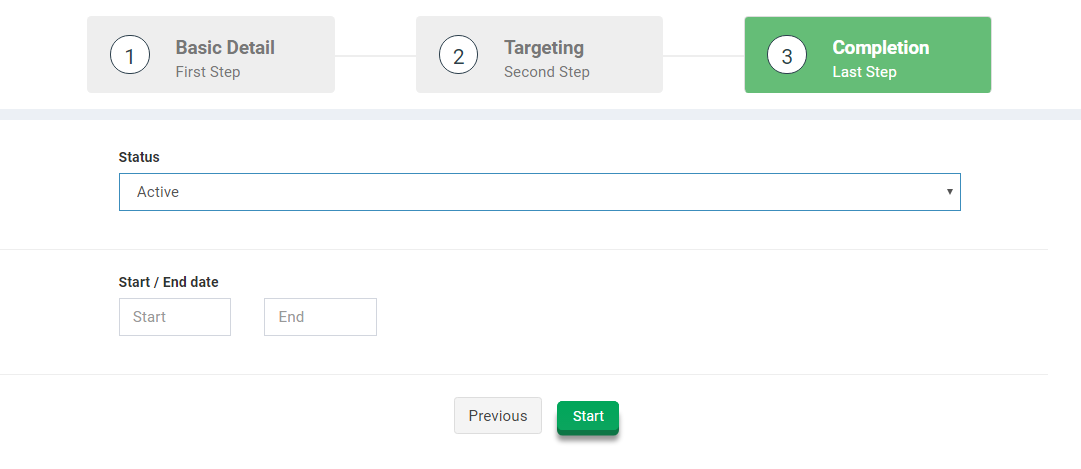
The last step is the completion of this event where one has to select a start date and an end date of the event and set the status of the event to active.
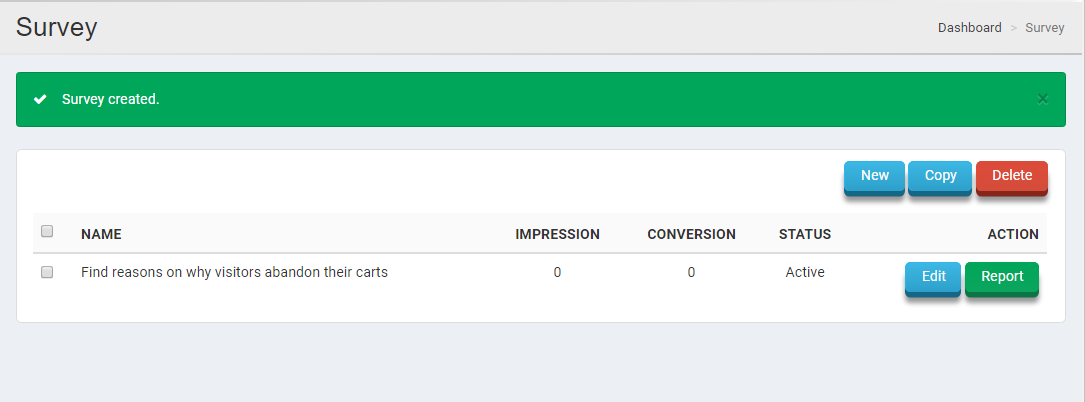
In the list option all the events that are created could be seen and edited as well as deactivated and deleted.
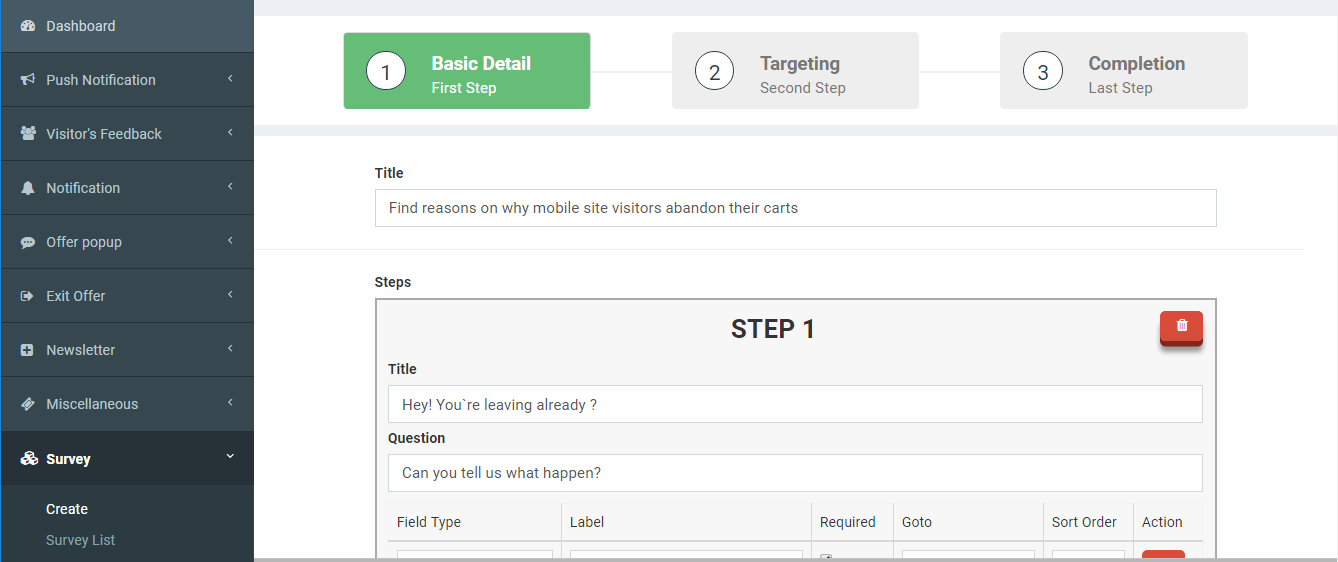
The top text field is of a title which would appear as a title or subject of the survey. The next text field is of the question that the survey presents itself to the visitor.
After Sale Feedback
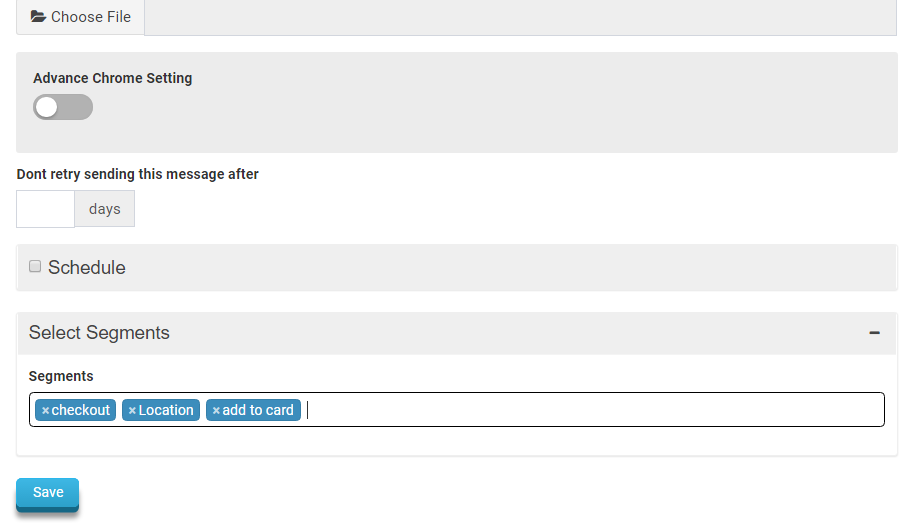
Yet another tool in the arsenal and one of the most important one for the business to grow is the automated After Sale Feedback along with integrated review mechanism. Feedify allows a website to set the number of days to send an automated customizable mail template when an order has been successfully placed. When the customer receives this mail a mechanism to collect star ratings is integrated so that these ratings can be displayed on the website to gain trust from new visitors or anonymous visitors thereby optimizing the resource utility of the website.
This feedback would help the business to grow as it would point out the areas that needs improvement and the areas that are strong, and would give realistic insights about the quality of service. A rating mechanism integrated with feedback has shown remarkable dividends in terms of sales.